Stormy Seascape Photography - De Kelders, Overberg Region
The only word that comes to mind when trying to explain the jagged coastline of De Kelders is EPIC. If you are a landscape photographer visiting the Gansbaai area of the Overberg region then this is the place to be!
LOCATION
I have been searching for an image that is different to the ones found on social media (confession, I have taken an image or 2 of the popular spots myself), and thanks to an excellent local photographer I managed to find what I was looking for.
** Please note that this image was taken before the revised covid-19 restrictions in South Africa denying access to beaches announced on 28 Dec 2020 (image taken on 22 Dec 2020).
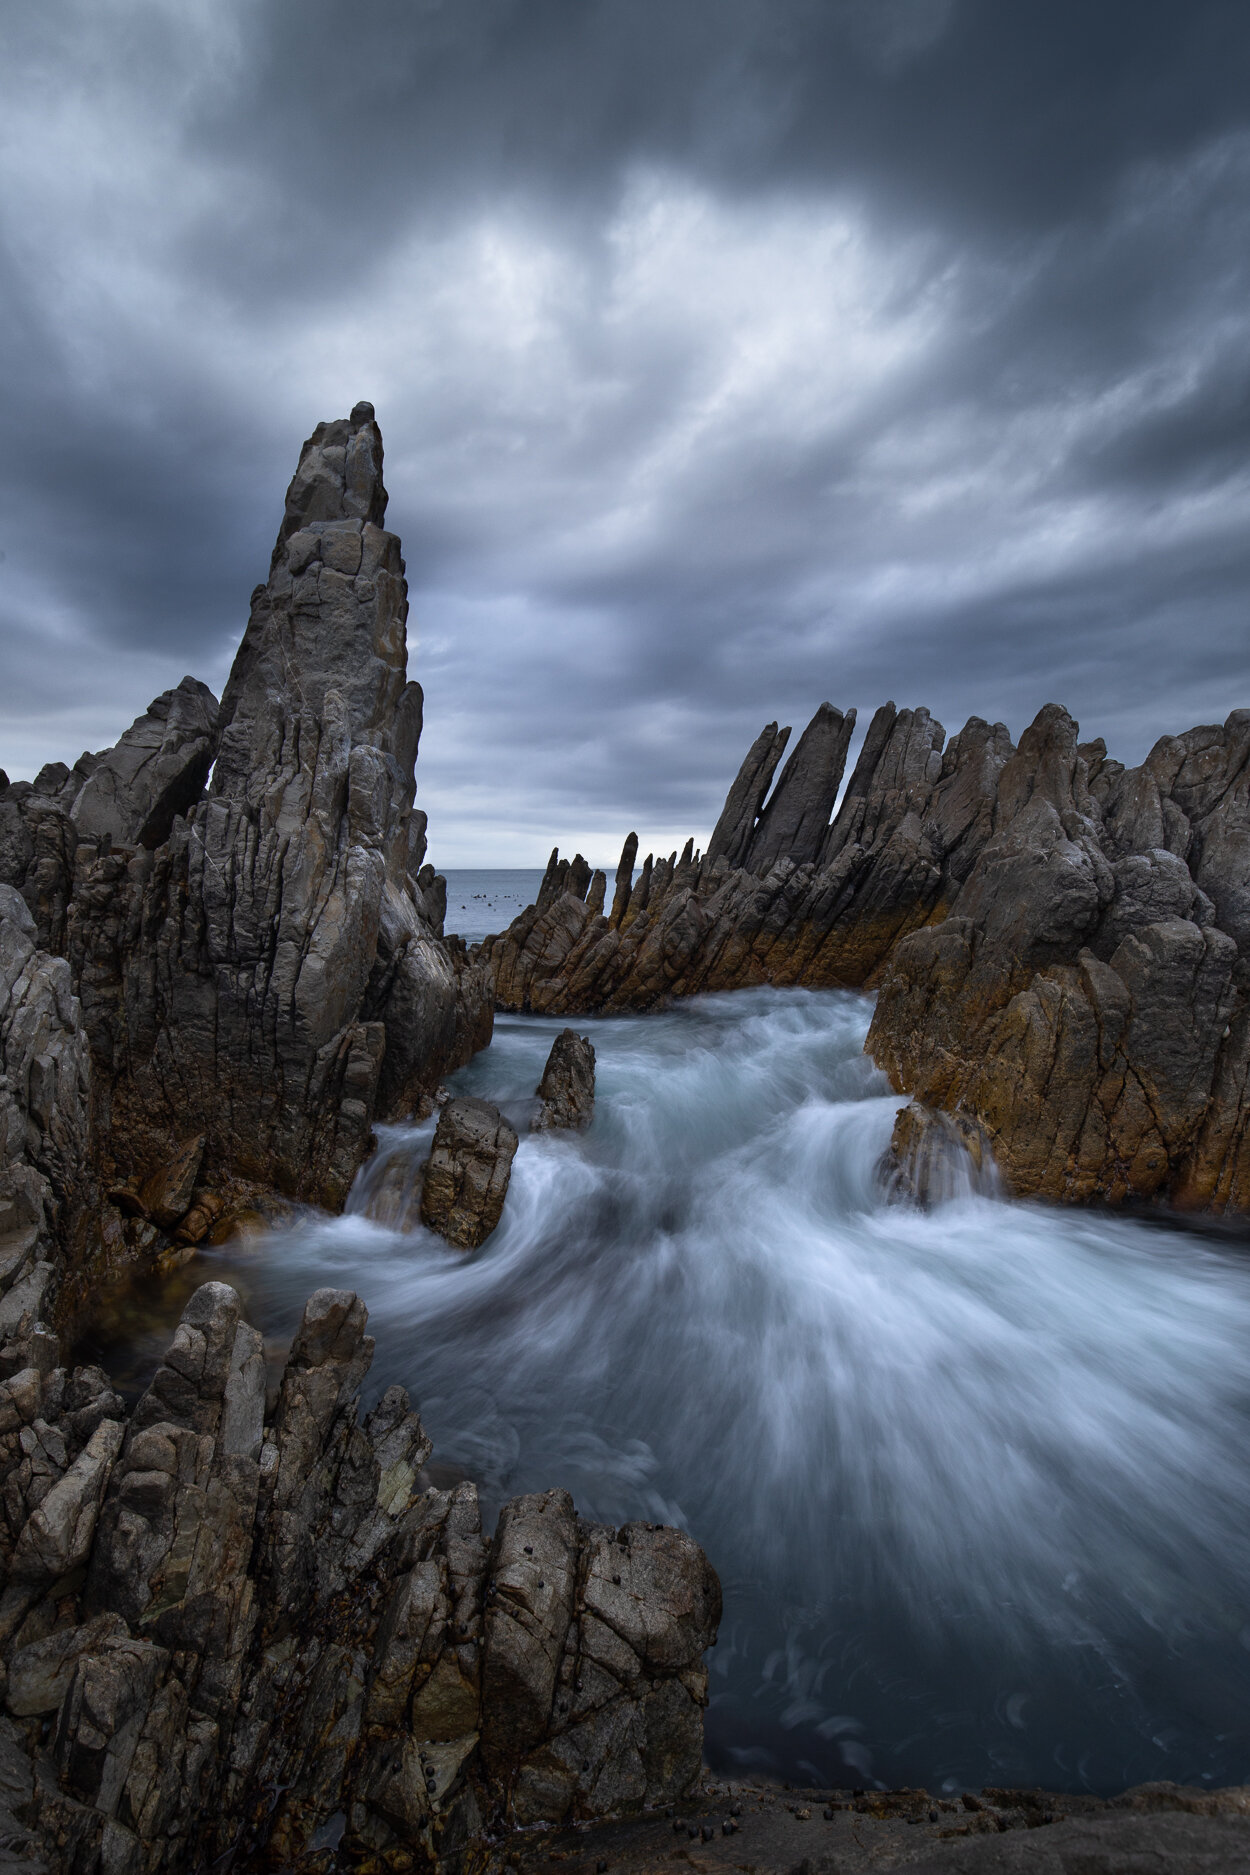
This spot is actually quite hidden and I am sure that I must have walked past it numerous times in the past as it is fairly unassuming from the road side. It is not until you climb over the first few rocks that the scene opens up and you look onto an amazing S bend of sea winding it’s way between the rocks!
LIGHT
De Kelders is a sunset location so it was very simple in terms of light, either a burning red/orange sunset or a dark, moody image.
On my very first evening the light was exactly like I had envisioned it, a storm was rolling through making for some stormy seas and dark, dramatic clouds full of texture - this was the moment I was dreaming of!
COMPOSITION AND SETTINGS
Due to the fact that the scene had a high dynamic range (dark and bright areas) I decided that a bracketed image (3 shot) would do the trick. For those who do not know what this means it simply means that you take the same image multiple times but with different exposures. The end result will be an underexposed, normal and overexposed version of the image. The underexposed version will keep the highlights from blowing as it will be a darker image, whilst the overexposed version will help recover the details in the shadows (ie a lighter image) - you would achieve the same result with a graduated filter but I chose not to use it as the rock formations were very uneven.
Shutter speed in my opinion is critical when photographing water as you either want to capture detail/movement or to totally smooth it out so it looks like a mirror - here are my starting settings when it comes to shutter speeds:
To keep detail in water use a shutter speed of about 1/5s (normally achieved without filters due to low light at sunrise and sunset)
To smooth the water out totally use a shutter speed anywhere from 10s upwards (a ND filter is required to block the light)
I dialed in my settings to create the right amount of movement in the water to compliment the clouds, now all I had to do was to wait for the perfect wave.
Image
Photography is all about storytelling and I think I managed to convey the mood and emotion that I was experiencing whilst standing on those amazing rocks!
I challenge you to get out there and make the image you see in your mind a reality!!
If this involves seascapes please be careful as the waves can be very unpredictable so try not to shoot alone and never turn your back on the sea - safety first!
Till next time…